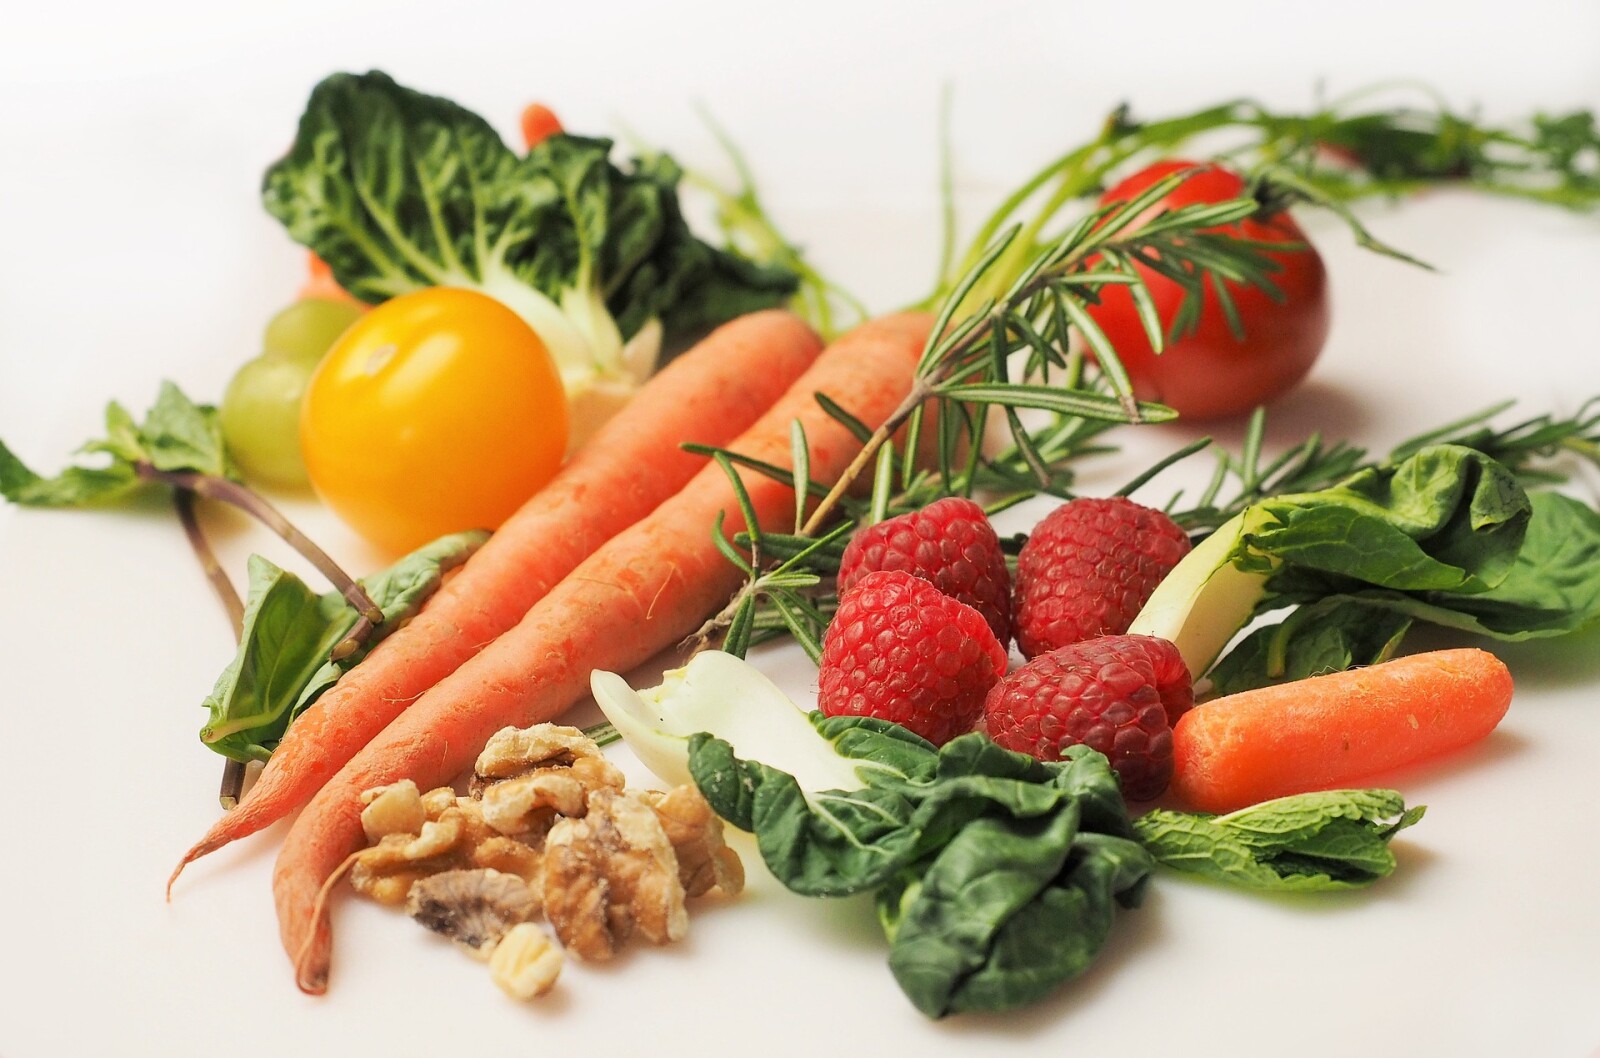
Are you looking for a healthy snack for your kids that won't leave them feeling sluggish? Look no further! Plant-based snacks are the perfect way to fuel your little ones with all the nutrients they need. From fruits and veggies to nuts, seeds, beans, and whole grains, there is something delicious and nutritious to suit every occasion.
Fruits & Veggies
Fruits and vegetables are some of the healthiest snacks around. Their natural sweetness makes them a great alternative to sugary treats, while their high fiber content ensures your kids (and you!) will stay fuller for longer. Try incorporating colorful fruits like watermelon or oranges into your kid's snack time routine, or serve up veggie sticks with hummus or guacamole as an after school treat. These are the best fast foods and can be prepared the night before for easy grab & go snacks the next day.
Nuts & Seeds
Nuts and seeds are another great plant-based snack option. Not only are they packed with vitamins and minerals such as zinc, magnesium, iron and vitamin E; but they also contain healthy proteins & fats that can help support brain development in growing children. Try offering trail mix with nuts and seeds as a tasty snack on the go, or bake up some energy balls made from peanut or almond butter, oats and dried fruit for a sweet treat that won't leave your little one bouncing off the walls afterwards!
Beans & Whole Grains
Like nuts and seeds, beans provide plenty of essential vitamins and minerals but are also high in protein and fiber - making them an ideal snack choice for active children who need fuel throughout the day. Serve up some homemade bean dip with vegetable sticks or pita bread; make a batch of homemade hummus; or try out some quinoa bowls topped with roasted veggies! For an extra boost of nutrition, look out for whole grain options with brown rice or oatmeal instead of refined grains like white bread or pasta.
With so many delicious plant-based snacks to choose from, it's never been easier to give your kids the nutrition they need without sacrificing taste! Whether you're looking for something quick on the go or something more substantial after school, there's sure to be something that suits their needs - not to mention yours! So take a break from processed snacks and try something new today - your kids will thank you later!
Have picky eaters? Grab this guide: 7 Strategies to Help Picky Eaters Eat!
My blogs contain some affiliate links.
Any purchase made is a blessing to my family at no extra cost to you!
Thank you for supporting us!

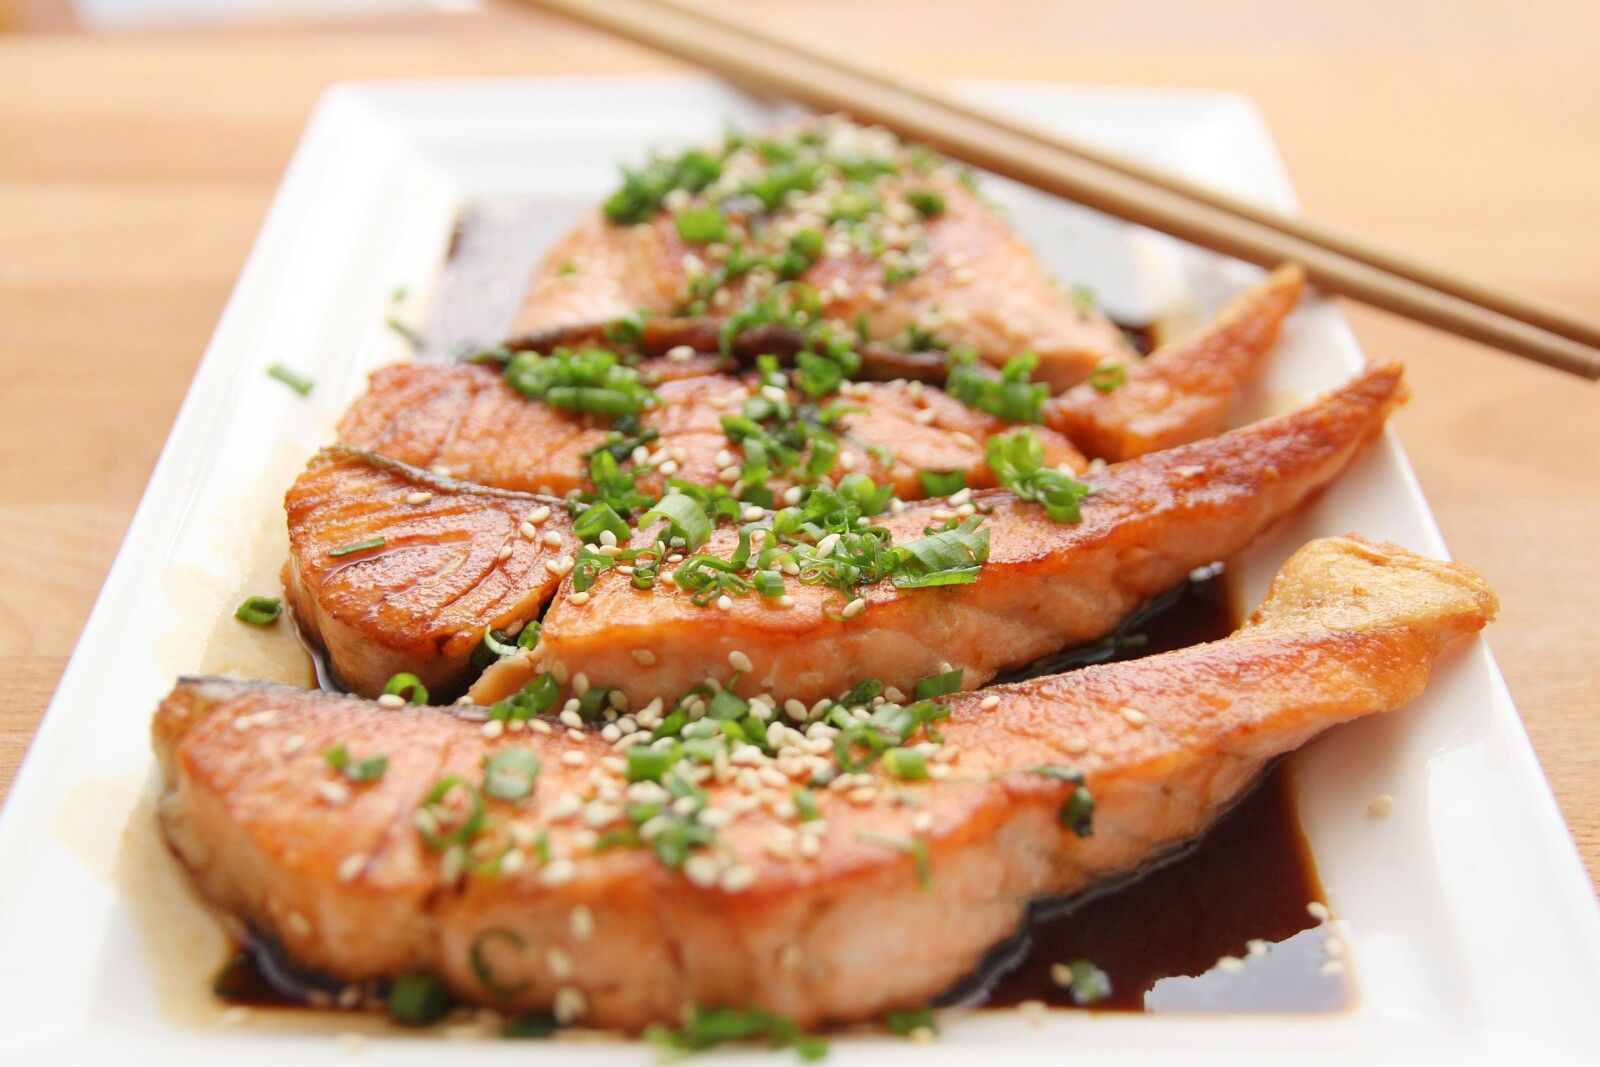
Do you want to get your daily dose of vitamin D without relying on fortified foods or supplements? If so, you’re in luck! There are plenty of natural ways to get your daily intake. Obviously, getting out in the sun is a fabulous way to get Vitamin D; there are some foods you can eat to get it, too. Read on for some tips and tricks to get the vitamin D you need straight from the source.
Cod Liver Oil
Cod liver oil is one of the best sources of natural vitamin D and has been used for centuries as a natural remedy. It can be taken orally in liquid form or as a capsule supplement. It also contains Omega-3 fatty acids, which are beneficial for overall health and wellness.
Fatty Fish
Fatty fish, such as salmon, tuna, mackerel, herring, sardines, and anchovies, all contain high levels of vitamin D and omega-3 fatty acids. Eating these types of fish regularly will help you get your daily intake of both vitamins and minerals. Make sure they are wild caught, as the farm raised fish have contamination. My favorite non-vegan Omega 3 supplement also has Vitamin D3 and CoQ10.
Egg Yolks
Egg yolks are also an excellent source of natural vitamin D and can be consumed raw or cooked in various dishes. Egg yolks are also rich in protein and other nutrients like iron, calcium, phosphorus, and B vitamins.
Aside from getting enough sun, these are just a few simple ways to get your daily dose of vitamin D naturally without having to rely on fortified foods or supplements. Eating a balanced diet with plenty of fruits and vegetables is always a good idea, since they contain small amounts of natural Vitamin D that can add up over time if you’re consistent with it. Looking for Vegan Sources of Vitamin D? I wrote about them here. So keep these tips in mind when planning out your meals and snack times! Holistic moms everywhere will thank you for it down the line!
My blogs contain some affiliate links.
Any purchase made is a blessing to my family at no extra cost to you!
Thank you for supporting us!

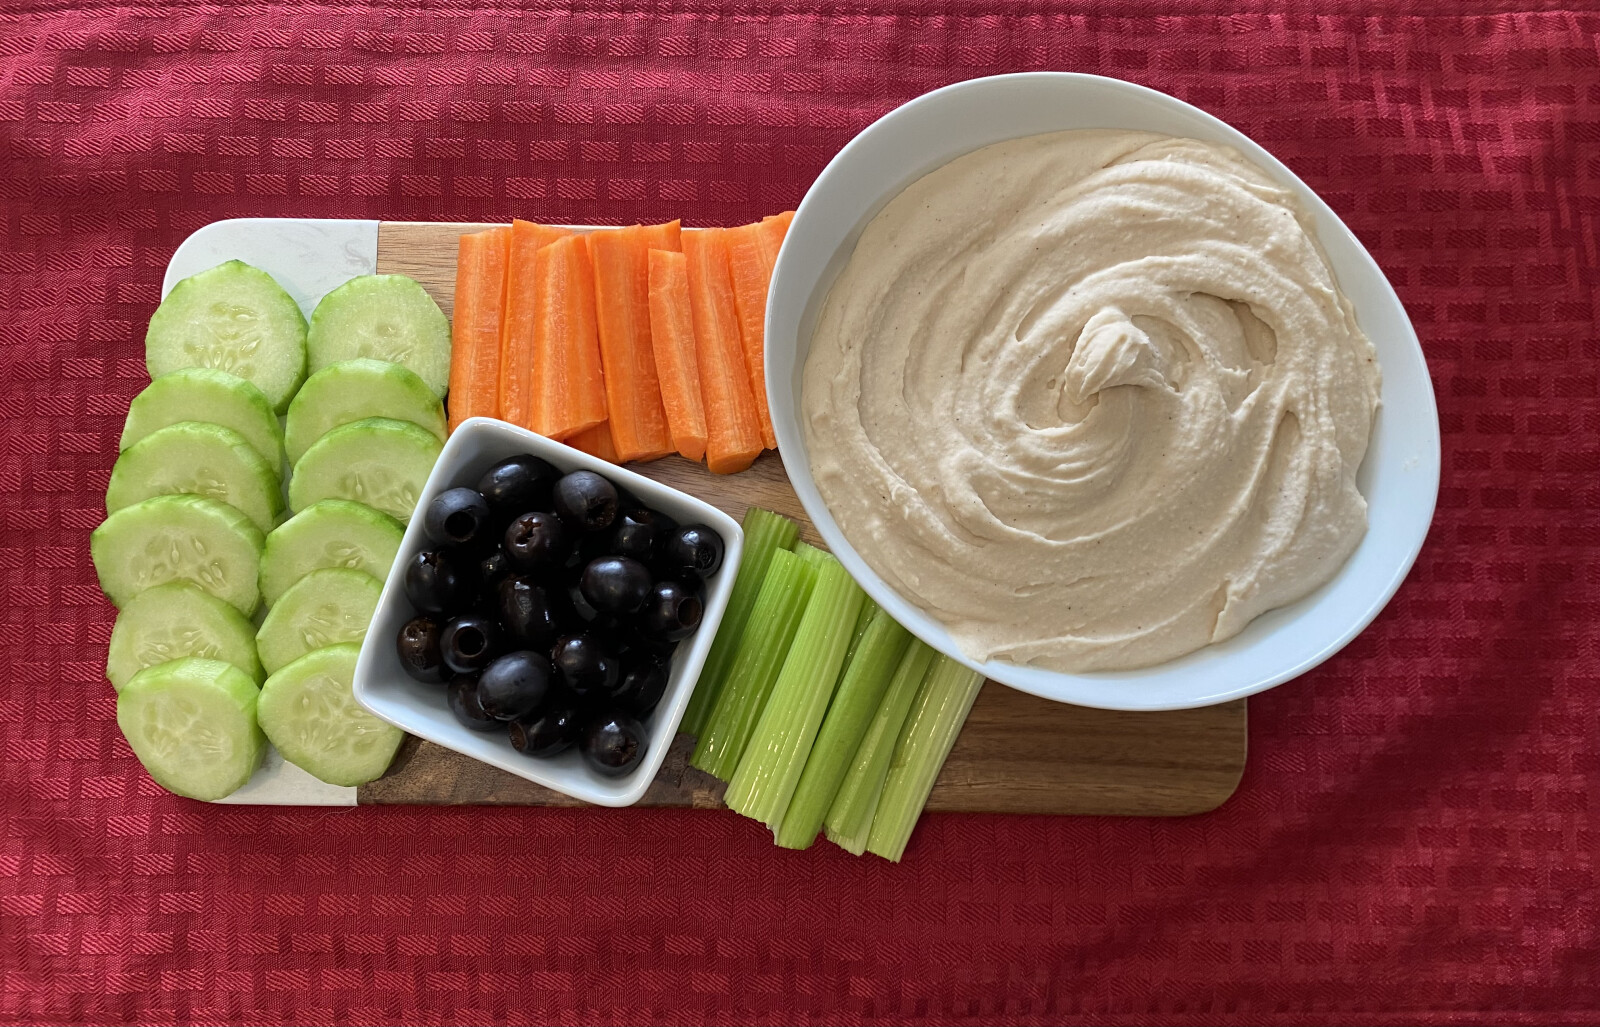
If you’re like me, a holistic mom who loves a good snack but doesn’t want to break the bank, then this blog post is for you. I love snacking on cannellini bean dip, but it’s expensive to buy pre-made in the store. So, I decided to take matters into my own hands and whip up a homemade batch that is both delicious and economical. Keep reading to learn how.
Ingredients You Will Need
To make your homemade cannellini bean dip, you will need 2 cans of cannelini beans (drained and rinsed), 1/4 cup olive oil, 3 cloves of garlic (minced or finely chopped), 2 tablespoons of fresh lemon juice, 1 teaspoon of sea salt, and 1/4 teaspoon of freshly ground black pepper.
2 cans cannellini beans, rinsed & drained
1/4 cup olive oil, vegetable broth or water
1-2 cloves of garlic
2 Tablespoons fresh lemon juice
1 teaspoon sea salt
1/8 teaspoon (or a bit less) ground black pepper
Method
The first step is to put all the ingredients into a food processor or blender. Make sure everything is blended until it reaches a smooth consistency. You may need to add more olive oil if the mixture looks too thick. Once everything is blended together nicely, serve raw or transfer the mixture into an ovenproof bowl and bake at 350 degrees Fahrenheit (177 degrees Celsius) for 20 minutes or until golden brown and bubbly on top.
Once finished baking, let cool before serving with some warm pita bread or vegetables. Enjoy! This cannellini bean dip recipe also makes great leftovers which can be stored in an airtight container in the refrigerator for up to 5 days.
There you have it—the ultimate guide on how to make your own delicious homemade bean dip cannelini! Not only does this recipe save you money, but it also allows you to customize your dip according to your own taste preferences by adding different herbs or spices of your choice. Plus, it’s healthier than store-bought versions because there are no preservatives or artificial flavors added. Now that I know how easy it is to make this tasty snack at home, I don’t think I’ll ever buy pre-made again! Enjoy!
My blogs contain some affiliate links.
Any purchase made is a blessing to my family at no extra cost to you!
Thank you for supporting us!

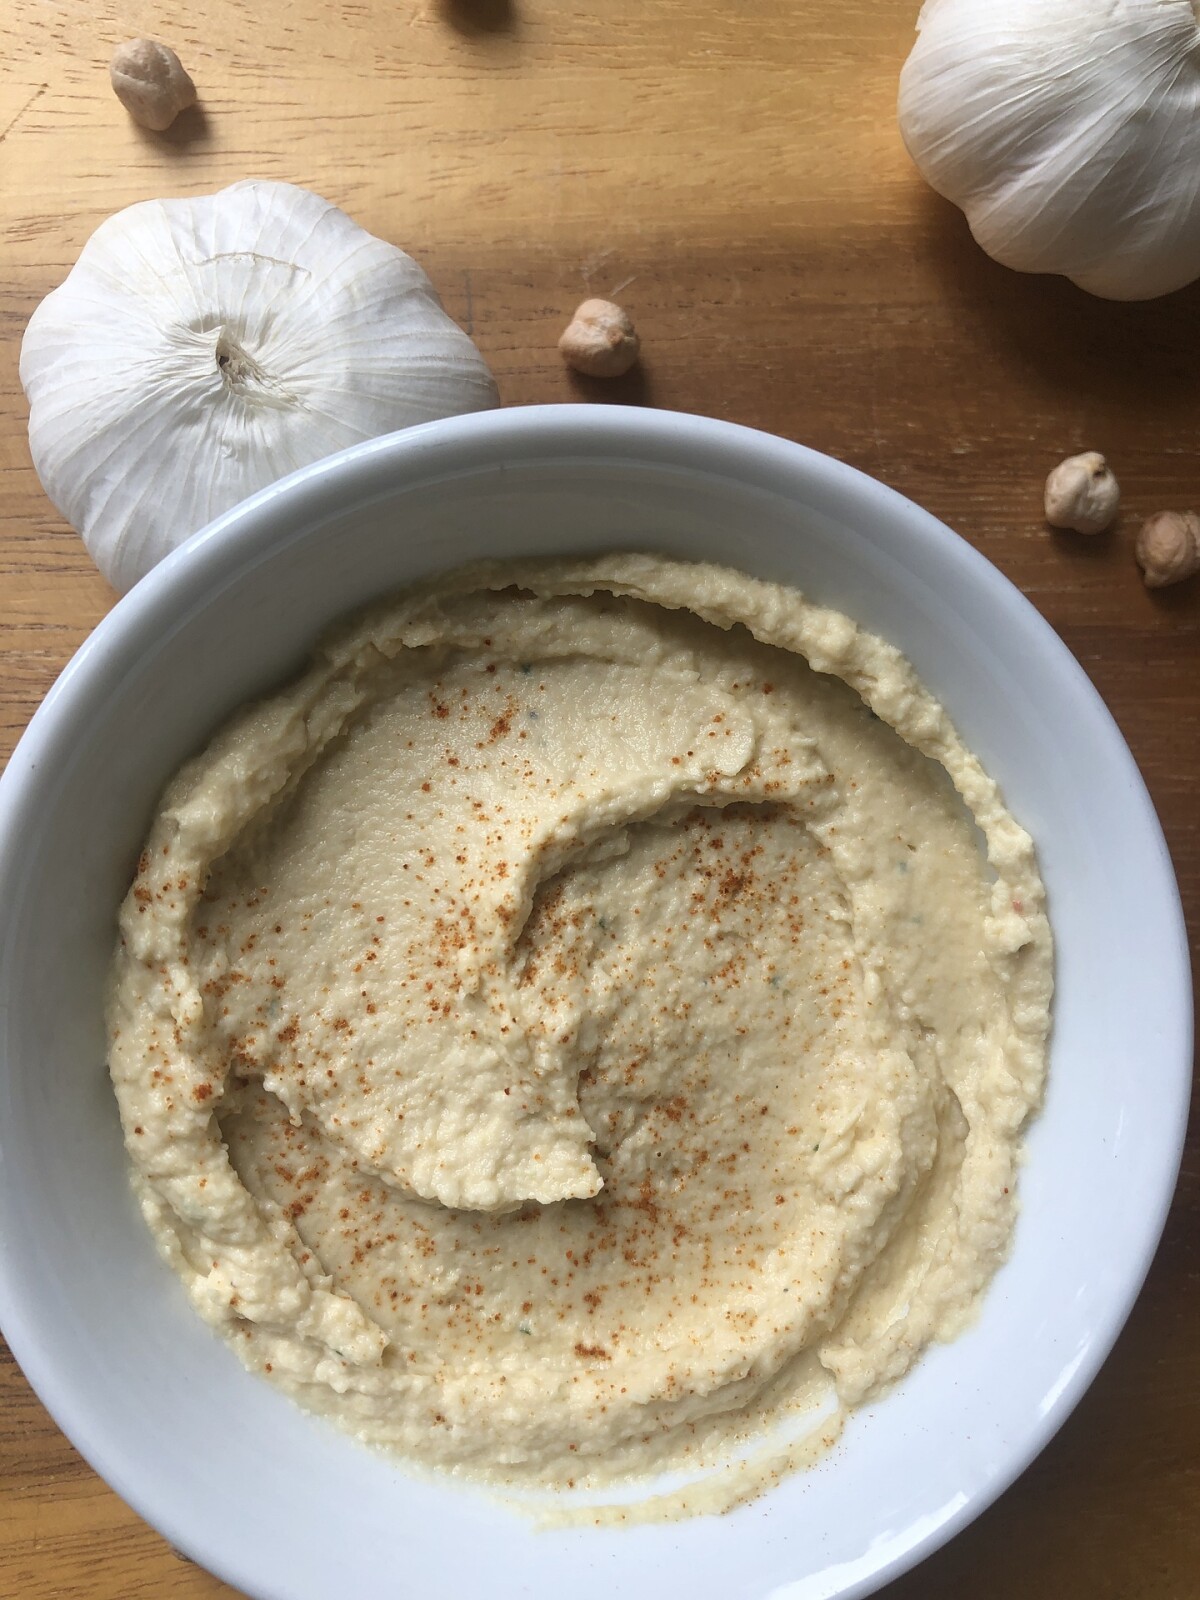
It’s no secret that homemade hummus can be a simple, delicious way to add some protein and flavor to your meals. But let’s admit it, making hummus from scratch can be a bit of a hassle. So, why bother? Well, there are many benefits to making your own hummus at home – including being able to control the ingredients and flavors you use. Plus, freshly made hummus has an unbeatable taste that is sure to impress even the pickiest eaters in your family! Here’s an easy recipe for homemade hummus that won’t take up too much time or effort.
What You Need
The most basic ingredient for hummus is chickpeas (or garbanzo beans). For every one cup of cooked chickpeas, you will need two tablespoons of tahini paste and two tablespoons of lemon juice. You should also have salt and pepper on hand for seasoning purposes. Feel free to play around with additional herbs and spices depending on what flavor profile you want your hummus to have – cumin, garlic powder, paprika, oregano, etc., are all great options!
Basic Recipe
1 cup cooked chickpeas (soaked 24 hours, then cooked 1-3 hours)
2 Tablespoons tahini paste
2 Tablespoons lemon Juice
The Process
Once you have all the ingredients together, it’s time to assemble them into a delicious dip! Begin by adding all the ingredients into a food processor or blender. Blend until everything is mixed together evenly and then season with salt and pepper (or whatever other herbs/spices you plan on using). Blend until everything is smooth and creamy – this should only take about five minutes (or less!) if you're using a powerful blender or food processor. Finally, scrape down the sides of your blender/processor as needed before transferring your freshly made hummus into a bowl or container. That's it! Enjoy with pita chips or veggies as desired.
Making Your Own Variations
Still looking for something extra special? Customize the recipe by adding some roasted red peppers or kalamata olives into the mix while blending everything together! If you want some extra zing in your dip, add a dash of sriracha sauce before blending - this will give it just enough kick without overwhelming other flavors! And if you're feeling adventurous – try adding some nut butter for an interesting twist on traditional hummus recipes. The possibilities are truly endless when it comes to creating unique variations of homemade hummus - so get creative!
Making homemade hummus doesn't have to be hard! With just a few simple ingredients and steps in hand you can whip up this yummy dip in no time at all. This easy recipe provides holistic moms with an opportunity to make healthy snacks that their entire family will enjoy without sacrificing time or effort in the kitchen - so go ahead and give it a try today! Bon Appétit!
My blogs contain some affiliate links.
Any purchase made is a blessing to my family at no extra cost to you!
Thank you for supporting us!

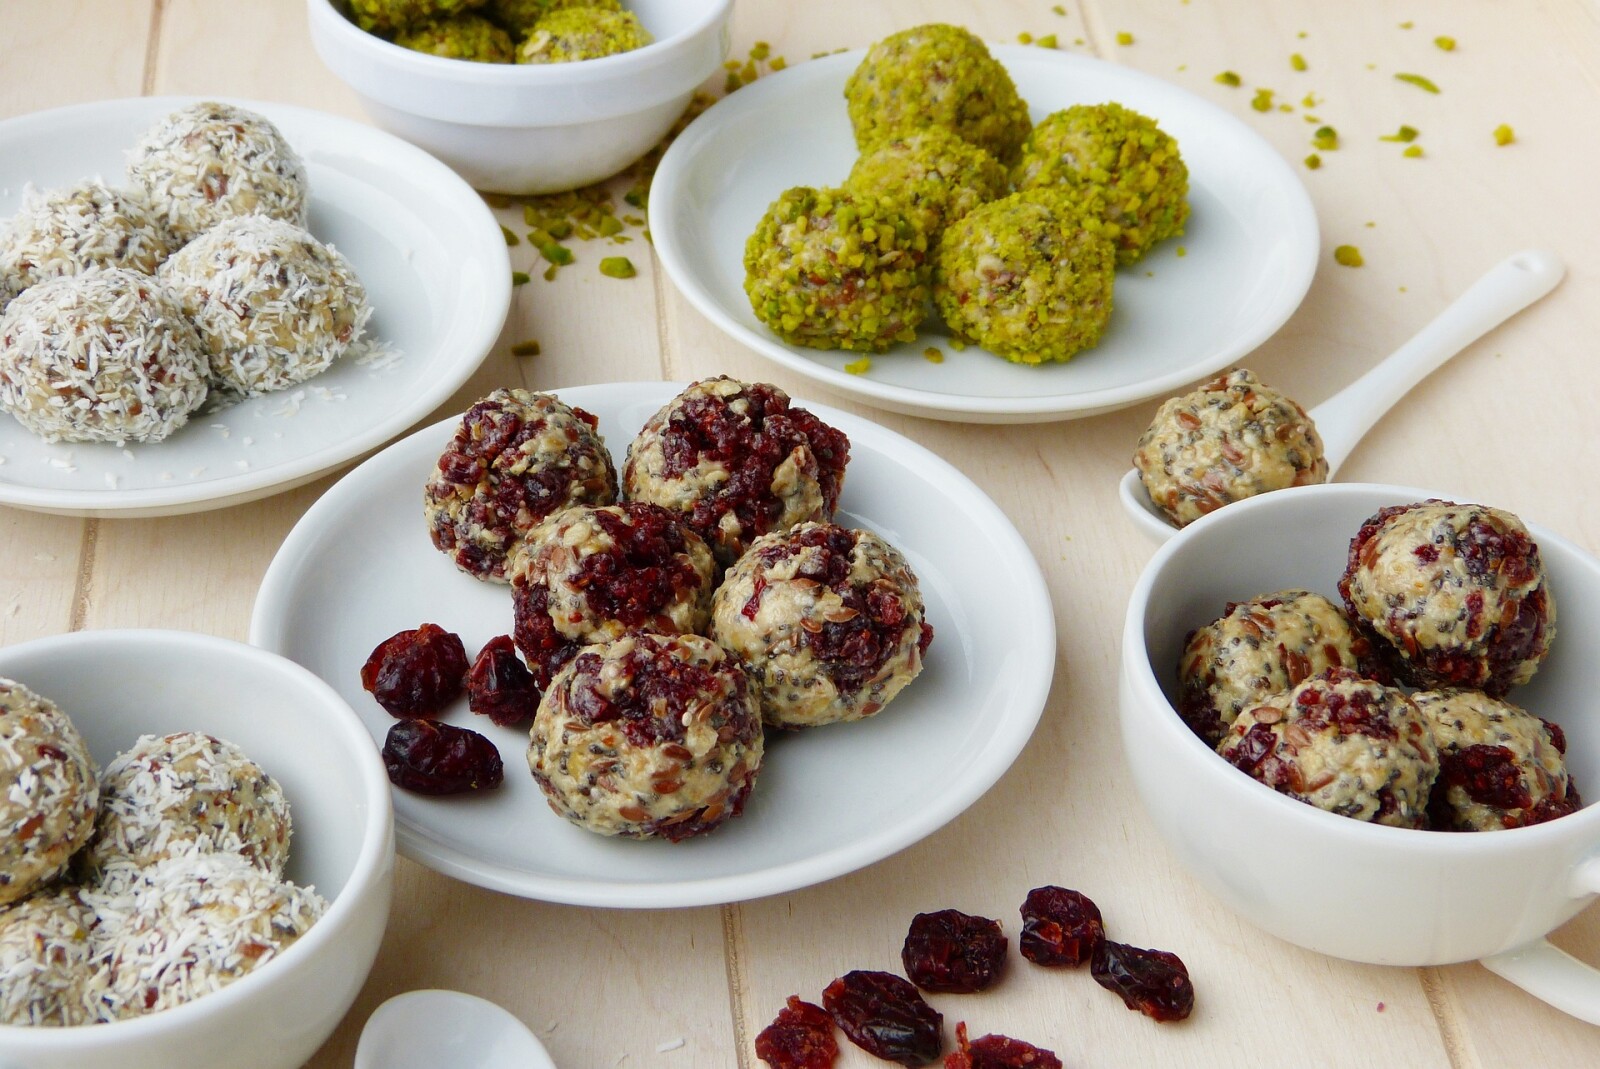
If you’re looking for a quick and easy snack that’s packed full of energy-boosting nutrition, then you’ve come to the right place. Homemade energy balls are a delicious way to get the energy boost we all need throughout the day. With the right ingredients and a few minutes of your time, you can whip up a batch of homemade energy balls that will keep you going until dinnertime. Let’s take a look at what it takes to make these tasty treats!
Ingredients
The first step is to gather your ingredients. You’ll need 1 cup of salted peanut butter (or any nut butter of your choice), 1/2 cup oatmeal, 1/4 cup honey or maple syrup, 1/2 cup dried fruit (such as cranberries or raisins) and 1/4 cup chopped nuts (or seeds). You can also add some optional extras such as cocoa powder or ground flaxseed for an extra nutritional kick. Play with this - the possibilities are endless!
1 cup peanut butter ( or almond butter)
1/2 cup oatmeal
1/4 cup honey (or pure maple syrup)
1/2 cup dried fruit (cranberries or raisins are favorites!)
1/4 cup chopped nuts or seeds (walnuts, almonds, pistachios, or sunflower seeds are great)
1 Tablespoon cocoa powder, cacao nibs, and/or ground flaxseed (optional)
2 Tablespoons toasted coconut to roll the balls in (optional)
Mixing & Rolling
Once you have all your ingredients measured out, it’s time to mix them together in a bowl until everything is well combined. Then roll the mixture into small balls about the size of a golf ball. Place these on a lined baking sheet and refrigerate for about an hour before serving. This will help them hold their shape better when served.
Storing Your Energy Balls
These homemade energy balls are best served cold straight out of the refrigerator, but they can also be stored in an airtight container in the fridge for up to 5 days, or frozen for up to 3 months. Just be sure to thaw them before eating if they have been frozen!
For a healthy energy boost that doesn't involve caffeine or sugar-packed snacks then why not give homemade energy balls a try? They're quick and easy to make with just a few simple ingredients - peanut butter, oats, dried fruit and nuts - that are packed full of natural goodness. Plus they taste great too! So next time you're feeling sluggish during the day why not whip up a batch of homemade energy balls for yourself? You won't regret it!
My blogs contain some affiliate links.
Any purchase made is a blessing to my family at no extra cost to you!
Thank you for supporting us!


